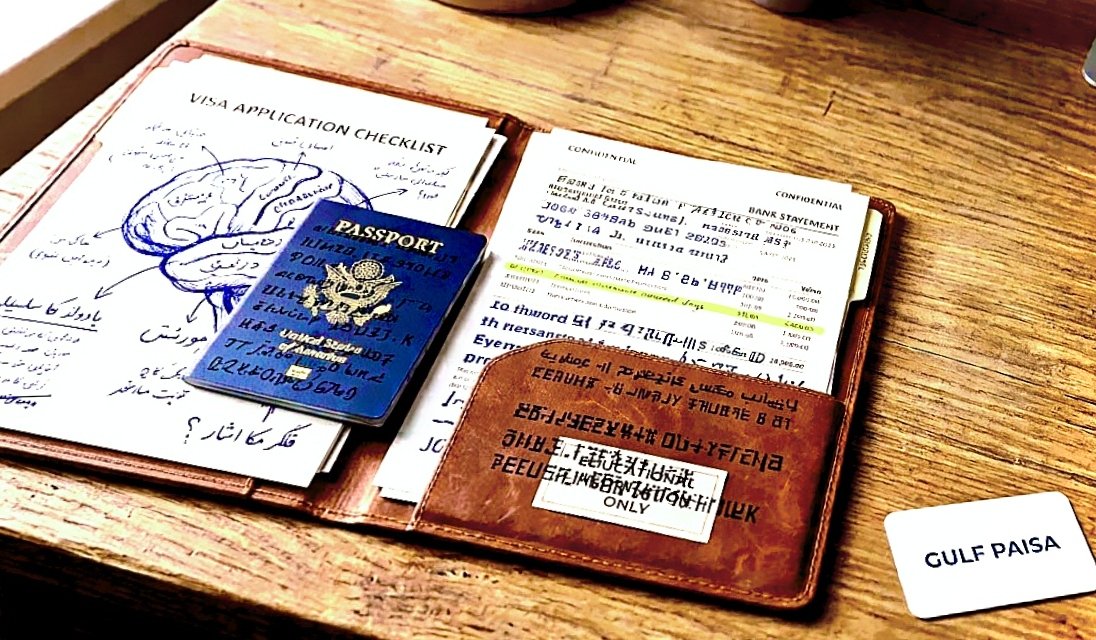
Securing a visa mostly comes down to one thing: your Proof of Funds (POF). You might have an admission letter or a booked flight, but if your bank statement looks off, the embassy will stamp a rejection without thinking twice.
At Gulf Paisa, our goal is not just to guide students through complex documentation, but to keep you motivated and confident to pursue your study abroad goals on your own.
The truth is, visa officers care about more than just a big balance—they want to know exactly where that money came from. In this guide, we’ll break down how to properly maintain your bank statement, how sponsorship rules work, and how you can build a solid financial file without paying expensive agents.
We are talking about Proof of Funds (POF).
Whether you are aiming for a student visa in Canada, the UK, Australia, or the US, or simply applying for a Schengen tourist visa, your financial documentation is the single most critical factor in getting an approval—or facing a quiet rejection.
This guide walks you through the actual mechanics of bank statements, sponsorship rules, and financial documentation.
The Reality Behind Proof of FundsLet me share a quick story that happens far too often.A student named Bilal once got accepted into a top-tier university in Canada. Everything was lined up—tuition estimates, housing choices, enthusiasm. Just three days before submitting his visa application, his family transferred a lump sum into his account to hit the required threshold.The outcome? A refusal letter stating that his financial background lacked credibility.Bilal was confused. The money was there, so why the rejection?Visa officers do not merely look at the final line on a bank statement. Their primary responsibility is to answer two fundamental questions:Does the applicant have sufficient money to cover tuition, accommodation, healthcare, and daily living without resorting to unauthorized work?Are these funds legitimate, stable, and belonging genuinely to the applicant or an authorized sponsor?When you present your financial portfolio, you need to demonstrate consistency, clear sourcing, and genuine ties to your home country.
Financial Awareness & Gulf Paisa
Navigating international documentation can feel overwhelming, especially with the sheer volume of conflicting advice available online.
Platforms like Gulf Paisa focus on sharing general information, practical guides, and financial literacy content to help people understand these processes better. Learning how bank seasoning works and what documentation is expected allows applicants to prepare their files with clarity and confidence.
Important Notice: Content provided on Gulf Paisa and within this article is published strictly for general information, educational purposes, and public awareness. It does not constitute formal financial, legal, or immigration advice. Visa policies change frequently, so you should always verify current requirements with official government portals or certified immigration professionals.
1. How Bank Statement “Seasoning” Works
When a visa officer reviews your financial statements, their eyes go straight to two things: Account Seasoning and Transaction Patterns.
A sudden, unexplained influx of cash right before applying is one of the most common reasons files get flagged. In immigration parlance, this is known as a “lump-sum deposit” or “unexplained funds.”
What Is Seasoning?Account seasoning means that the funds have been sitting comfortably in your bank account over a sustained period—typically 3 to 6 months—and that the account shows normal, daily financial activity.
Best Practices for Your Bank Statement:Paced Growth: If you recently sold an asset or received a gift, deposit those funds through traceable banking channels well in advance, supported by official sale deeds or transfer receipts.Regular Activity: An active account shows routine transactions like utility payments, salary credits, or groceries. A completely dormant account that suddenly receives a massive sum looks artificial.Document Every Large Deposit: If you sold property, a vehicle, or liquidated an investment, include the sale agreement, tax receipts, and bank transaction slips directly in your application.
2. Self-Funded vs. Sponsored Applications
A question that comes up endlessly: “Can a relative or family friend sponsor my visa?”
The short answer is yes, but the relationship hierarchy matters immensely.
Self-Funded Account —> Applicant’s Account (Salary / Business Income)
Primary Sponsor —> Parents / Spouse / Legal Guardians (Highest Credibility)
Third-Party Sponsor —> Extended Family / Friends (High Risk of Rejection)
Stick to First-Degree Relatives
Embassies overwhelmingly prefer primary sponsors:
- Parents (Mother / Father)
- Spouse
- Legal Guardians
If an uncle, cousin, or family friend offers to sponsor you, the embassy will naturally question why someone outside your immediate family unit is committing thousands of dollars to your stay.
Essential Sponsorship Documents:
- Affidavit of Support: A notarized legal statement confirming the sponsor’s commitment to covering your expenses.
- Proof of Relationship: Official birth certificates, family registration records, or marriage certificates.
- Sponsor’s Financial Proof: Their salary slips, business registration, bank statements, and tax return filings.
3. The Core Financial Documentation Checklist
A strong financial profile goes far beyond a basic balance inquiry letter. To build a solid submission, compile the following official records:
Standard Financial Documents:
- Account Maintenance Certificate (AMC): Issued by your bank to confirm account ownership, opening date, and current balance.
- 6-Month Bank Statement: Stamped and signed on every page by an authorized bank representative.
- Proof of Income Source:
- Salaried Applicants: Payslips (last 3–6 months), employment contract, and official tax filings.
- Business Owners: Business registration, NTN/tax certificates, company bank statements, and audited financial reports.
- Asset Valuation Reports: Evaluation certificates prepared by chartered accountants or licensed property evaluators.
- Liquid Investments: Fixed Deposit Receipts (FDRs), mutual fund portfolios, or government savings certificates.
4. Using Alternative Assets: FDs, Property, and Stocks
What if your liquid cash balance is slightly short, but your family owns real estate, land, or fixed term deposits?
You can certainly leverage these assets, but you must observe a balanced allocation:
How Embassies View Different Asset Types
| Asset Class | Acceptance Level | Required Proof |
|---|---|---|
| Savings / Current Accounts | High (Primary Standard) | 6-Month Bank Statement & AMC |
| Fixed Deposits (FDs / TDRs) | High (Easily Liquidated) | Encashment Certificate / Bank Letter |
| Mutual Funds & Stocks | Moderate | Certified Portfolio Statement |
| Real Estate / Land | Low (Used for Home Ties) | Professional Valuation Report |
| Physical Gold / Jewelry | Very Low | Certified Assayer Certificate |
Key Rule: Real estate and land valuations cannot replace liquid living funds. Instead, use property records to prove your strong ties to your home country—showing the officer that you have significant reasons to return once your visa expires.
5. Critical Financial Mistakes to Avoid
Here are the most frequent financial pitfalls that lead to refusal:
- Unverifiable Lump Sums: Depositing large amounts without attaching a paper trail explaining where the money originated.
- Borrowed Funds (“Show Money”): Borrowing money from a third party or agent just to take a screenshot of a high balance. Immigration agencies run background checks and verify records with financial institutions; misrepresentation can trigger a 5 to 10-year ban.
- Ignoring Tax Records: Showing large cash reserves while having zero history of tax filings raises red flags regarding the legality of those funds.
- Exchange Rate Vulnerability: Local currencies fluctuate. Always keep a 10% to 15% financial buffer above the minimum requirement set by the destination country to account for currency dips.
A 6-Month Preparation Plan
Proper financial planning takes time. Here is a realistic timeline to ensure your application goes smoothly:
Month 1–3: Calculate Budget -> Begin Regular Banking -> Liquidate Necessary Assets
Month 4–5: Gather Tax Documents -> Obtain Relationship & Sponsorship Papers
Month 6: Request Fresh Statements & AMC -> Write Cover Letter -> Submit File
- Months 1 to 3:
- Calculate your full target budget (Tuition + 1-Year Living Costs + Flight Costs + Buffer).
- Maintain steady, normal banking transactions in your primary account.
- Complete any legitimate asset sales early so the proceeds sit cleanly in your account.
- Months 4 to 5:
- Update tax returns and gather official income proofs for yourself and your sponsor.
- Collect civil documents (family registration certificates, birth certificates, sponsorship affidavits).
- Month 6 (Application Month):
- Request an updated, stamped 6-month bank statement and Account Maintenance Certificate.
- Draft a clear cover letter detailing your financial history and the origin of your funds.
- Submit your complete application.
Frequently Asked Questions
How much bank balance do I need for a student visa?
The required amount varies by country and institution, but the standard benchmark formula is:
Aim to hold at least 10% to 20% above this calculated sum to ensure a safe margin.
Are educational loans accepted as proof of funds?
Yes. An officially sanctioned education loan from a recognized financial institution is widely accepted as valid proof, provided you submit the official Loan Sanction Letter.
How recent must my bank statement be?
Embassies generally require a statement covering the last 3 to 6 months. The date of issue on the statement should ideally be within 7 to 14 days of your visa submission date.
Final Reflections
Immigration processes rely on consistency, transparency, and clear documentation. Visa officers do not know you personally—they evaluate your file based on the evidence, paper trail, and narrative you present.
Resources like Gulf Paisa aim to encourage financial awareness so applicants can navigate these requirements thoughtfully. By starting early, avoiding shortcuts, and keeping your financial trail completely transparent, you put yourself in the best possible position for a successful visa application.